What if one simple workflow could save you hours of grading and make paper handouts instantly interactive for students? We ask that because the right approach can preserve your lesson intent while freeing up time for teaching.
We show a clear path from paper to image to layered activity. You can scan or snip a printable, convert a PDF, and set a Google Slides page to 8.5″ x 11″. Then add the worksheet image as a background and place text boxes that say “Type here.”
Practical examples include uploading pages into a form for auto-grading, or using BookWidgets’ 40+ interactive templates for quizzes, drag-and-drop, and annotated pictures with accessibility options. These approaches work on Chromebooks and 1:1 devices and scale across units.
We’ll guide you through SAMR-aligned choices—substitution for quick transfers or transformation with embedded video and self-checking slides—so students get clearer feedback and you reclaim valuable work time.
Key Takeaways
- Follow a repeatable paper → image → Slides/Forms flow to create digital materials fast.
- Use Google Slides and Forms for friction-free student submission and auto-grading.
- BookWidgets adds interactive question types and accessibility features.
- Align methods to SAMR so you choose efficiency or deeper transformation.
- Organize versions in Drive for easy assignments and reduced grading time.
Why digitise worksheets now: intent, benefits, and learning outcomes
When we move paper tasks into a simple digital workflow, students get faster feedback and clearer expectations.
Intent: Preserve your lesson content while adding features that matter — auto-grading, dashboards, and multimedia that deepen learning.
In a typical United States classroom with Chromebooks, Slides works well for page-style layouts and Forms handles structured, auto-graded items. Google Classroom then distributes copies and returns feedback efficiently.
Benefits: Faster feedback cycles save time and let you spot which questions students miss. Accessible options — text-to-speech, extra time, zoom, and a built-in calculator — help diverse learners show what they know.
From paper to practice: aligning digital worksheets with classroom goals
Choose the method based on content and outcome. Use Slides for open-ended responses and Forms for quick item analysis and a correct answer key.
- Auto-grading + dashboards = targeted reteach opportunities.
- Embedded images and video boost engagement without lowering rigor.
- Mix question types to match standards and skill levels.
| Goal | Best Method | Classroom fit |
|---|---|---|
| Open response | Google Slides | Chromebooks, 1:1 |
| Auto-graded check | Google Forms | Fast feedback, dashboards |
| Accessible access | Multimedia + assistive options | Supports diverse student needs |
Getting started: steps and tools to convert paper worksheets into images
The first step is capturing a clear image—this saves time later and keeps student responses readable.
Begin by choosing the best capture method for your paper originals: CamScanner on your phone, your printer/copier scanner set to JPG, or use a snipping tool and Smallpdf’s PDF-to-JPG for PDFs.
Quality matters
If an image is blurry, try another method or increase resolution. Crop margins and boost contrast so students can read every question without zooming.
Copyright check
Make sure you have permission before creating digital copies. Many publishers adjusted licences after 2020, but you must verify for each resource.
Organize in Google Drive
Use a clear naming convention (Unit_Lesson_Worksheet_v1). Keep a master JPG for each page and separate folders for masters, image assets, and assigned copies.
- Decide response type up front—text entry in Google Slides or structured answers in Google Forms.
- Note text boxes and answer placement in a companion doc so building the digital worksheet is faster.
- Batch scans, convert, and test an example with a colleague or student helper to confirm legibility and load time.
Using Google Slides to create digital worksheets students can type on
Google Slides gives you a fast canvas for turning a paper page into an interactive lesson. Start by setting the slide size and locking the page image so students focus on responses, not layout.
Set page size and add the worksheet image as a background
Open File > Page setup and choose 8.5″ x 11″. Then use Background > Choose image to place your worksheet JPG. Locking that image as a background prevents accidental moves.
Add text boxes and “Type here” prompts
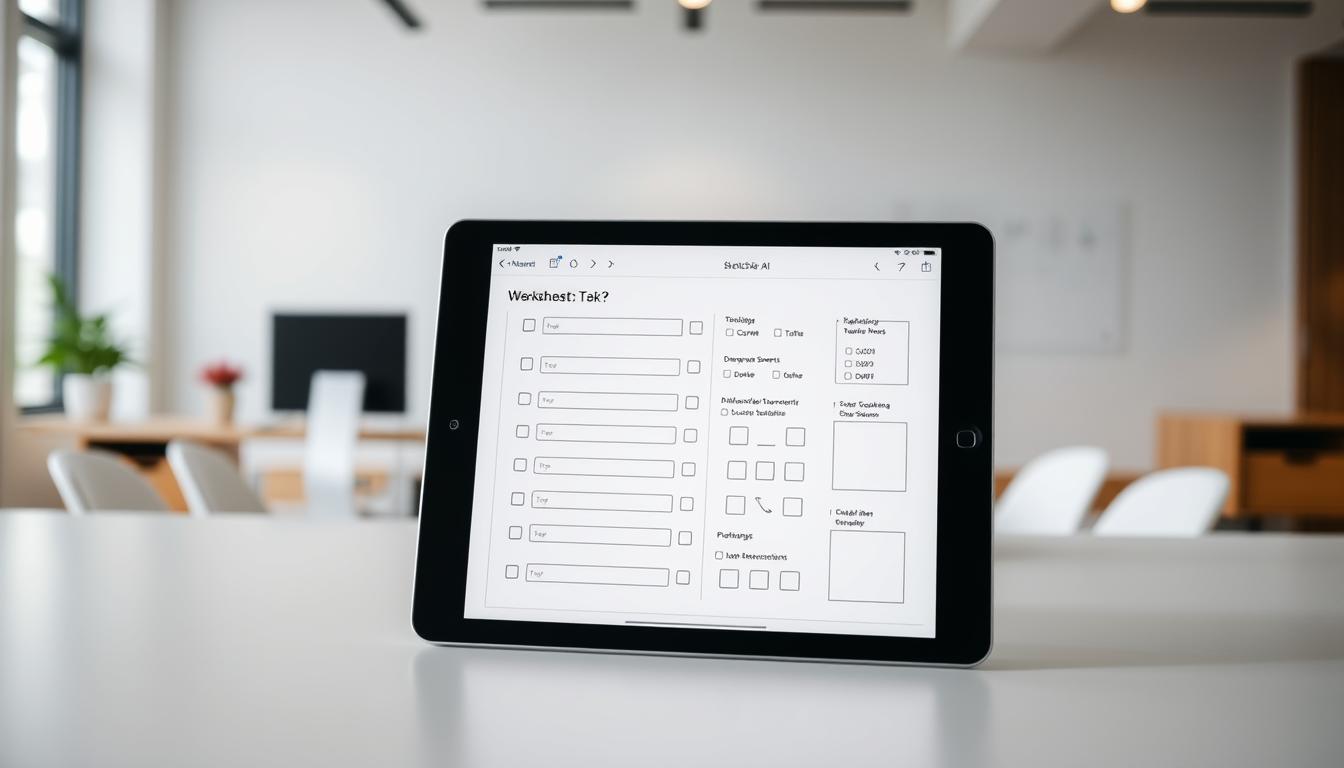
Layer text boxes where you want answers and prefill each with “Type here.” This guides students and speeds completion. Keep font size and spacing readable on Chromebook screens.
Draggable elements, images, and shapes for interactive activities
Add shapes, draggable tiles, and images for matching, labeling, or annotate tasks. Students can drag an answer tile, place arrows, or circle parts of a diagram.
- Make one slide per page for multi-page sets.
- Duplicate slides or use a master layout for consistent formatting.
- Save an example copy in Drive as a template for future lessons.
Build auto-graded and self-checking activities with Google Forms
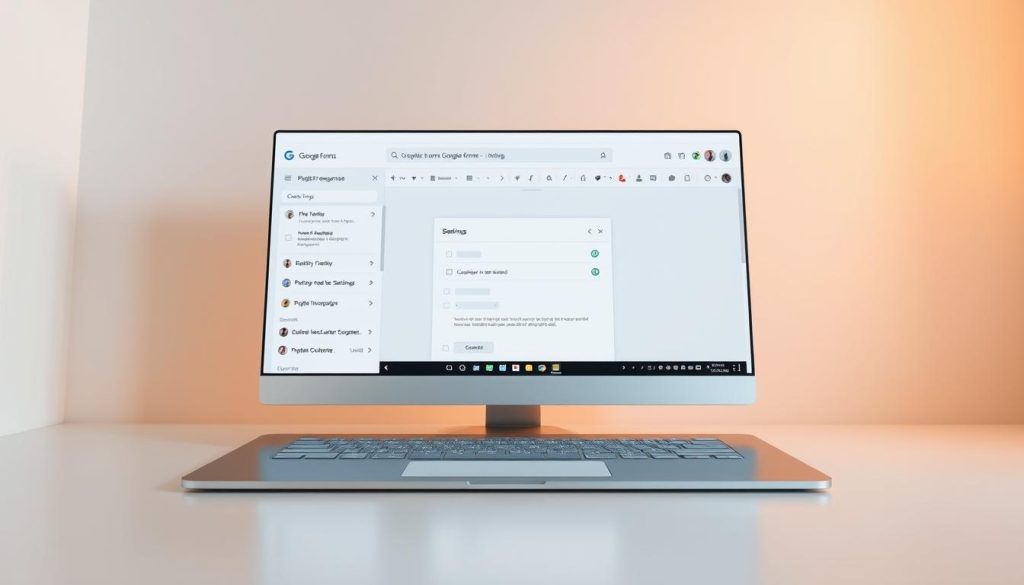
You can rebuild a page as a Form and gain instant scoring and item-level insight. We recommend adding a header, clear directions, and a name field so submissions are standardized.

Insert each worksheet image into the related question, then choose Short Answer or Multiple Choice. Set the correct answer and assign points so Forms can auto-grade objective items.
Create short-answer and multiple-choice questions with answer keys
Keep stems concise. Short prompts help students focus and cut typing time. For multiple-choice, mark the correct answer and add feedback for right/wrong responses.
Embed images and use feedback for reteach
- Batch-upload images to speed creation.
- Mix dropdowns, checkboxes, and short answers for variety.
- Use the responses dashboard and item analysis to spot patterns and plan the next lesson.
| Step | Action | Why it helps |
|---|---|---|
| Setup | Add title, directions, name field | Standardizes submissions |
| Author | Upload image per question; choose question type | Preserves original layout and context |
| Grade | Set correct answer and turn on auto-grading | Speeds scoring and feedback |
| Analyze | Use item analysis; export to Sheets | Targets reteach and records scores |
edtech tools to digitise worksheets: BookWidgets, Google Classroom, and more
Choosing the right platform makes creating digital worksheets faster and more consistent for every class. We recommend pairing a template-first authoring app with Google Classroom for distribution and feedback.
BookWidgets templates and capabilities
BookWidgets offers 40+ widget templates and 35+ question types — quizzes, annotate-picture, text/image drag-and-drop, and auto-grading with reporting dashboards.
Its document importer converts Word/PDF content, and fixed image resize keeps items device-ready for students on Chromebooks.
Google Classroom workflows
Attach Slides with “Make a copy for each student” to protect your master. Attach Forms for automated scoring and fast progress tracking.
Share by link or post in a class stream and return feedback quickly so students see results the same day.
SAMR-aligned strategies
Start with substitution—scanned page in Slides—then add feedback and images for enhancement. Move toward transformation with self-checking activities, collaborative whiteboards, and gameboard-style tasks.
“Templates and a shared playbook cut build time and increase consistency across lessons.”
| Use case | Best option | Why it helps |
|---|---|---|
| Quick conversion of a paper page | Google Slides + Classroom | Fast distribution, individual copies, familiar interface |
| Auto-grading and analytics | BookWidgets / Google Forms | Item-level insight and dashboards for reteach |
| Interactive, device-ready activities | BookWidgets templates | Rich question types, accessibility, fixed image resize |
Make learning engaging: interactive examples and design tips
Small changes in design can turn a static page into an interactive learning moment. We recommend using image-based items and one-question slides so students stay focused and show thinking clearly.

Image-based questions
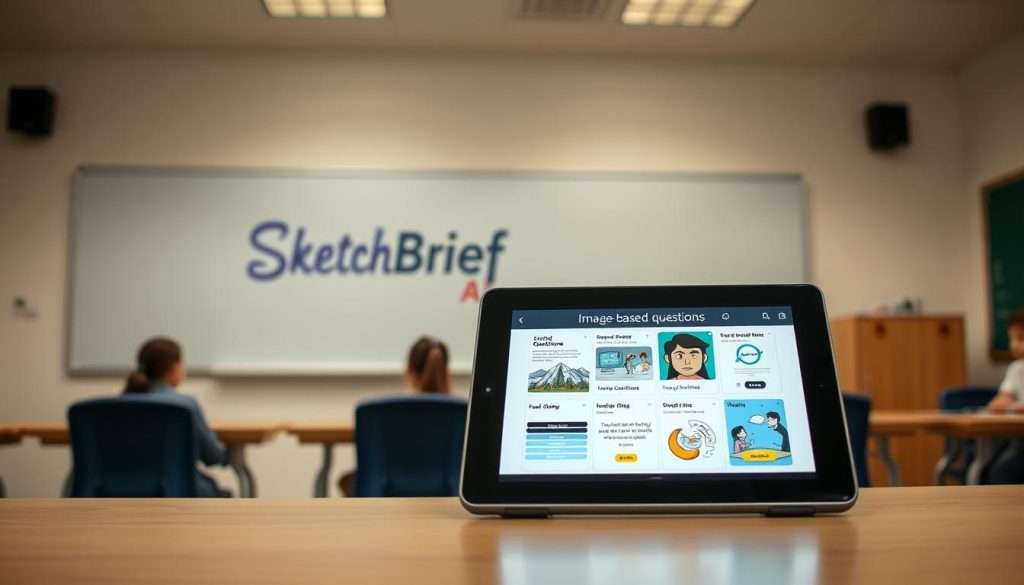
Use annotate-picture and text/image drag-and-drop formats to convert diagrams and maps into active checks. BookWidgets supports annotate picture, open-ended answers, audio recording, and a “photo” question type. Fixed image resize keeps pages consistent across devices.
Self-checking slides
Design slides that hide an image or sticker under the correct choice. When students pick the right answer, they uncover a reward. This approach gives instant feedback and is great for one-question-at-a-time focus and collaboration.
Digital gameboards and video instructions
Replace cards with virtual dice, pawns, and spinners so all groups play simultaneously. Embed short video directions for absent students, differentiation, or just-in-time support.
Accessibility and UDL
Include text-to-speech, extra time settings, and zoomable images so more students can access content. Offer multiple response ways—typing, dragging, audio, or photos—to capture authentic learning.
“Design for low cognitive load: one question per slide and clear response choices improve accuracy and engagement.”
- Design tip: Standardize image sizes with fixed resize to reduce distraction.
- Mix question types: objective checks plus open responses to capture thinking.
- Iterate: pilot activities, gather student feedback, and refine the next lesson.
Sharing, grading, and data: efficient methods to save teacher time
A few simple sharing choices make classroom distribution predictable and protect your master files. We recommend a lightweight workflow that gets work to students, captures responses, and returns feedback fast.
Share with copies, links, or Classroom posts
Slides: Use Share > anyone with link view, then change the URL ending to /copy. That forces a personal copy and keeps your master intact.
Classroom: Attach a Slides file and choose “Make a copy for each student.” Or post a link or Drive file in an assignment for easy collection.
Forms: Use Send > link for quick access, or attach the form in Classroom so everything is centralized.
Grade faster and act on data
Auto-grading reclaims time. Let Forms or other platforms score objective items, then focus your effort on misconceptions and written answers.
Item analysis pinpoints which question clusters were hardest. Export results to Google Drive Sheets for records and gradebook updates.
“Use dashboards and timestamps to guide reteach decisions and pacing.”
- Share Slides via a “/copy” link so each student gets an editable sheet without changing the master.
- Attach files in Classroom and select “Make a copy for each student” for automated distribution.
- Organize assignments in Google Drive with clear names and folders for easy reuse and version control.
- Monitor submission times and completion rates to guide pacing and support planning.
| Action | How | Benefit |
|---|---|---|
| Distribute copy | Slides URL > change to /copy | Protects master; quick student copies |
| Centralize grading | Attach Form in Classroom or use Forms link | Auto-grade and collect responses |
| Analyze | Use dashboards; export to Sheets | Identify hard questions and track progress |
Make sure link permissions are correct before you post. A quick check saves time and prevents stalled student work.
Conclusion
Use a repeatable workflow and focused design choices to make each worksheet an adaptable learning resource. ,
We offer a practical guide and a How-To Guide you can follow to create digital versions of core class pages. Use Slides for layout control and Forms for quick scoring and analytics.
Bring in BookWidgets when you need richer interaction, consistent image handling, and detailed reporting. Keep students at the center—design for clarity, accessibility, and meaningful feedback.
Standardize Drive and Classroom habits. Pilot a small example, analyze question-level data, and refine the next lesson. Blend text, image, and video so every digital worksheet captures how students show understanding and grows into a reusable asset.

Leave a Reply