What if you could capture every idea on the board and turn it into a searchable resource before the next class starts?
In this introduction, we set a clear path for modernizing how you preserve classroom information with minimal disruption.
We explain the full process—from planning outcomes to selecting tools and capturing scans—so you can replace ad hoc photos with a repeatable workflow that saves time and improves quality.
We’ll show practical, enterprise-ready options: Zoom Whiteboard templates for structure, Miro for group work and gallery walks, and Rocketbook Beacons for fast, accurate captures and OCR.
Along the way, we cover accessibility, naming conventions, easy handoffs (scan → send → store → share), and ways to turn captured boards into lasting learning assets.
Key Takeaways
- We present a step-by-step process to capture and preserve teaching content efficiently.
- Use Zoom Whiteboard, Miro, and Rocketbook where each fits the workflow best.
- Simple handoffs and naming rules keep resources searchable and reusable.
- Accessibility and inclusive alternatives are part of the workflow from the start.
- Apply this playbook this week to save time and protect institutional information.
Set Your Teaching Goals and Understand the Value of Digital Whiteboarding
Before you open any tool, decide what you want students to do with a digital canvas and why it matters. Clear goals turn scattered ideas into reusable learning assets.
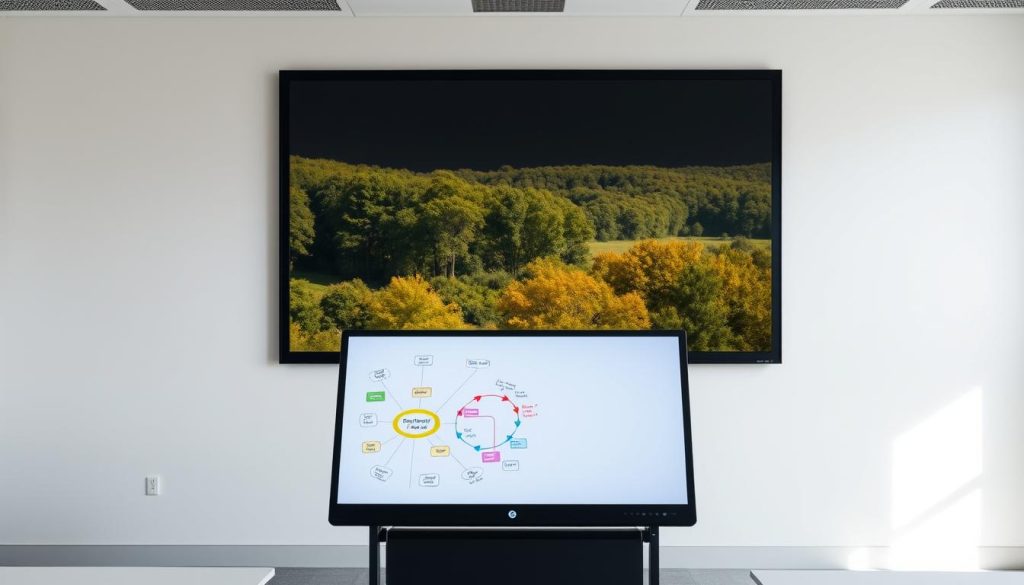
Define learning outcomes—brainstorming, concept mapping, or feedback loops. For brainstorming, use sticky-note layouts, icons, and arrows to trace connections. For concept-heavy topics, plan maps that reveal relationships and help groups co-construct understanding.

Address accessibility early. A whiteboard-only activity excludes students who use screenreaders. Provide parallel materials—structured documents, alt text, and verbal descriptions—and offer downloadable summaries and captioned walkthrough videos.
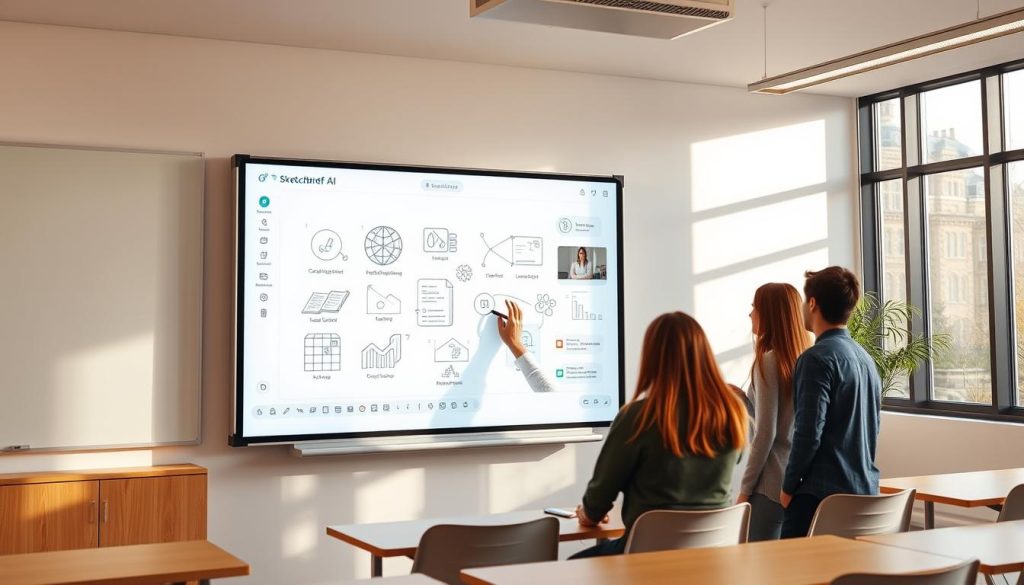
Why this matters now: Digital whiteboards speed collaboration, support active learning, and save time when you capture and circulate information after class.
- Choose prompts that expose misconceptions and invite questions.
- Set clear roles so instructors and student facilitators manage facilitation and follow-up.
- Match tools to tasks—Zoom Whiteboard for in-meeting frames; Miro for gallery walks and structured peer feedback.
Choose the Right Digital Tools for Your Class and Workflow
A smart stack reduces friction. Picking the right mix of apps and capture gear shapes how smoothly your sessions run and how reusable your materials become. We recommend one primary option and one fallback so meetings stay on track.

Zoom Whiteboard and shared screen annotation
Zoom is ideal when you need in-meeting frames and enterprise templates. Use native shared screen annotation for quick edits and live input. Guides and video how-tos help instructors adopt templates fast.
Miro for collaborative whiteboarding
Miro suits multi-frame work and gallery walks. Apply for an education account to unlock collaboration templates and structured peer review. It’s the best option for asynchronous group work and larger interactive boards.
Rocketbook for analog-to-digital capture
Rocketbook Beacons plus the mobile app auto-crop pages, merge them into PDFs, and send to OneDrive, Google Drive, or email. OCR turns handwriting into searchable text, and Snapcast gives a persistent URL you can share live in Zoom.
Picking your stack
Prioritize compatibility. Verify support, account provisioning, and student access. Document quick-start guides and embed links to help centers so onboarding is lightweight and consistent.
- Standardize on Zoom for in-meeting frames and fast annotation.
- Use Miro for gallery walks and multi-frame collaboration.
- Bring analog to digital with Rocketbook for scanning and OCR.
How-To: digitising classroom whiteboard notes step by step
We walk you through a step-by-step workflow for clean scans, fast sending, and easy sharing.
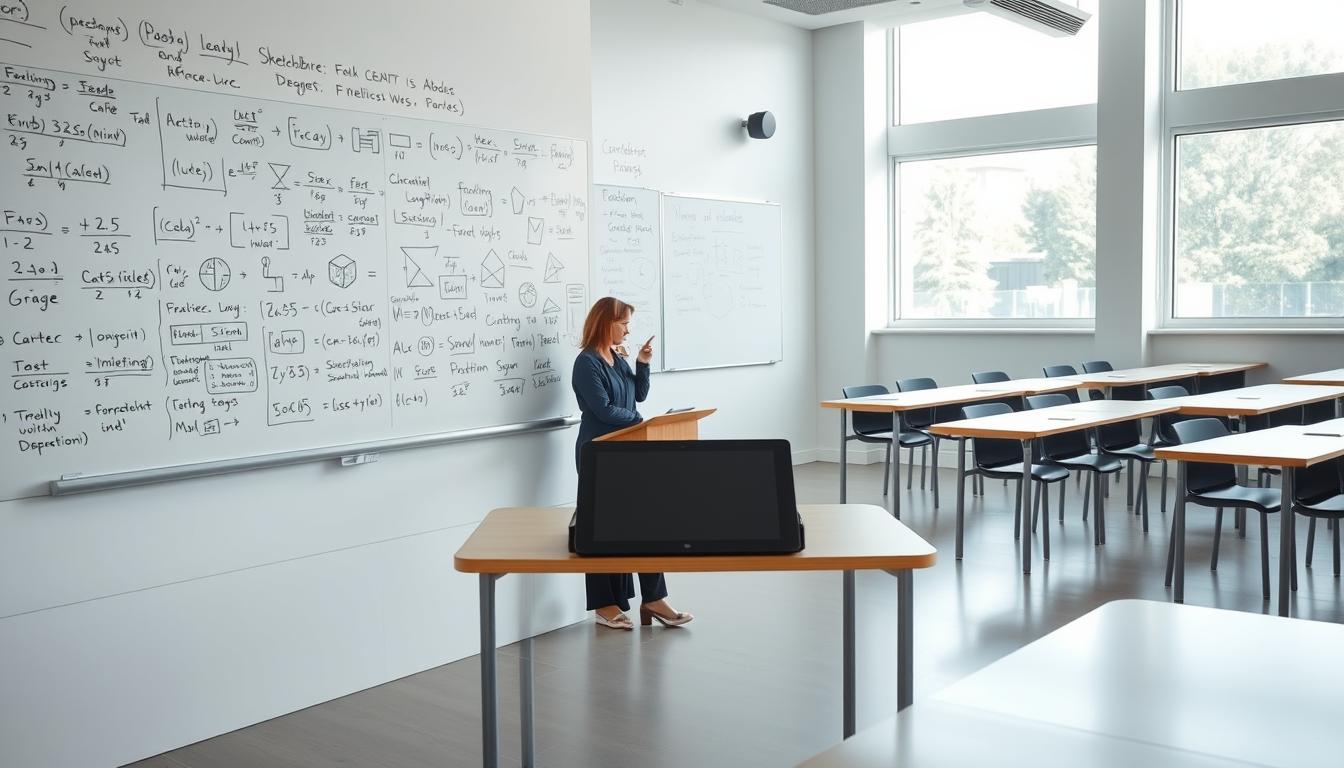
Scan cleanly. Place Rocketbook Beacons on the corners and use bold markers for high contrast. Open the app, log in to your account, tap New Scan, and select the whiteboard with Beacons option. Frame the board so the auto-crop engages and hold steady while perspective correction processes the image.
Send, store, and OCR
Use quick-send destinations to route scans to email, OneDrive, Dropbox, or Google Drive with two taps. Enable OCR to convert handwriting into searchable text. Merge scanned pages into a single PDF before archiving.
Share live in Zoom
Toggle Snapcast mode to get your personal URL. Open that URL in a browser and share the screen in Zoom so participants see updates as you rescan.
Organize and troubleshoot
Name files with a consistent convention like CourseCode_Week_Topic_Page-1ofN. Adjust lighting, increase marker contrast, and keep annotation styles legible. Use templates to standardize capture and speed student orientation.
| Step | Action | Best practice |
|---|---|---|
| Prepare | Place Beacons, clear glare | Bold markers, uncluttered frame |
| Capture | New Scan → Whiteboard with Beacons | Hold steady, confirm thumbnails |
| Send | Quick-send to cloud or email | Enable OCR, set destinations |
| Share | Snapcast URL → Zoom screen | Rescan to update live view |
Turn Captured Notes into Learning Assets
We turn captured boards into living resources that students can revisit, extend, and use for assessment.
Active learning with saved boards
Saved captures let students build concept maps, annotate images, and give peer feedback. Use Miro frames or Zoom templates to host gallery walks and threaded comments.
Assign students to revise maps as a quick formative check. Image annotation tasks prompt targeted comments and follow-up questions.
Support diverse needs and greener practice
Share high-contrast PDFs with resizable text and alt text so more students can access materials. Integration with assistive technology boosts inclusion.
Keep a digital lesson record after each session so absent students catch up and parents review. Reusing captures saves prep time and reduces paper waste.
| Use | Tool | Outcome |
|---|---|---|
| Concept maps | Miro | Reusable map library for formative checks |
| Image annotation | Zoom / Miro | Targeted feedback with timestamps |
| Archive & share | Rocketbook → PDF | Single searchable resource for students |
Close the loop: summarize themes, highlight strong contributions, and set next steps so students see how feedback turns into learning.
Conclusion
Here’s a short roadmap to move from live inspiration to clear, searchable resources after each class.
Use a compact stack: Zoom Whiteboard for in-meeting frames, Miro for gallery walks, and Rocketbook for fast capture and OCR. Follow a repeatable process—scan → send → store → share—to save time and keep content consistent.
Preserve teaching moments as accessible pages with clear filenames, readable text, and useful images. Invite students to extend saved pages, annotate content, and reflect for stronger active learning.
Start small: pilot one session, gather feedback, and scale templates and accounts that reduce support requests and boost collaboration.

Leave a Reply